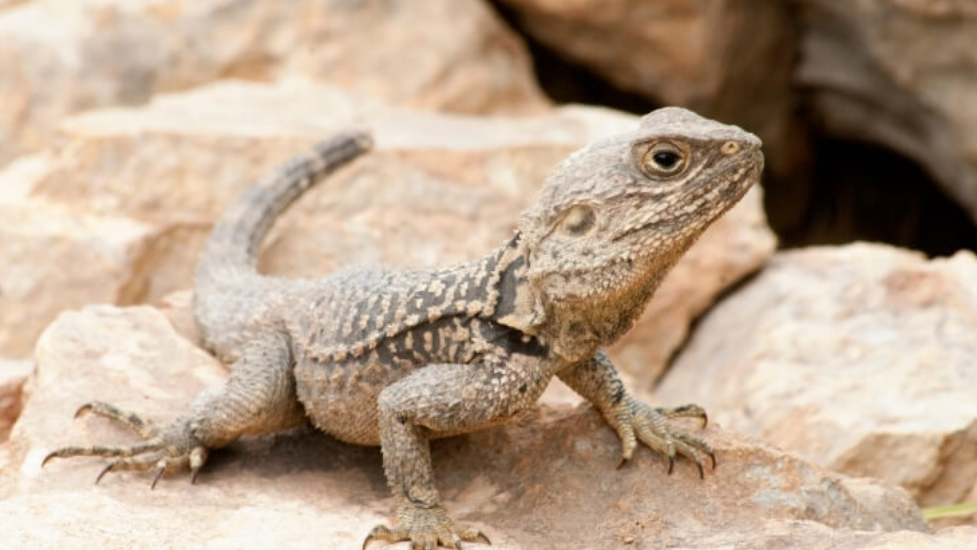
Creating a customized enclosure for your pet lizard not only enhances their comfort but also allows you to design a unique, naturalistic, and visually appealing habitat. Whether you’re a beginner or an experienced reptile keeper, this guide will walk you through building a DIY lizard enclosure, crafting homemade hides, and designing personalized decorations.
Step 1: Planning Your Lizard’s Enclosure
Before you start building, consider the following factors:
- Species-Specific Needs: Different lizard species have unique temperature, humidity, and space requirements. Research your lizard’s specific needs to ensure a suitable setup.
- Size of the Enclosure: Provide ample space for movement, climbing, and burrowing, depending on your lizard’s natural behavior.
- Material Choices: Opt for safe, non-toxic materials such as glass, wood, PVC, or acrylic.
- Ventilation & Security: Ensure proper airflow and secure latching systems to prevent escapes.
Step 2: Building a DIY Lizard Terrarium
Materials Needed:
- Wooden panels or PVC sheets (for custom enclosures)
- Glass panels (for viewing windows)
- Non-toxic sealant (for waterproofing)
- Mesh screen (for ventilation)
- Hinges and locks (for secure access)
- LED or UVB lighting fixtures
Instructions:
- Design the Frame: Using plywood or PVC sheets, cut panels for the base, walls, and top.
- Assemble the Structure: Secure the panels together using screws and non-toxic adhesives.
- Install Ventilation & Lighting: Attach mesh panels on the sides or top for airflow and position UVB and heat lamps appropriately.
- Seal & Waterproof: Use a reptile-safe sealant to prevent water damage and make cleaning easier.
- Add a Door: Install a glass or acrylic sliding door for easy access.
Step 3: DIY Lizard Hides & Climbing Structures
Lizards need hiding spots and climbing opportunities to feel safe and enriched. Here are some DIY hide and decor ideas:
Homemade Hides
- Coconut Shell Hide: Cut an opening in a coconut shell and smooth the edges for a natural hide.
- Clay Caves: Mold non-toxic air-dry clay into a small cave shape and let it harden.
- Wooden Hide Box: Construct a small wooden box with an entrance hole and place it in the enclosure.
Climbing & Basking Platforms
- Stacked Rocks: Securely stack and glue flat rocks together to create basking platforms.
- Driftwood & Branches: Sterilize natural wood by baking it at 200°F (93°C) for an hour before placing it inside.
- DIY Hammock: Use reptile-safe fabric and suction cups to create a hanging hammock.
Step 4: Custom Decorations & Substrate Choices
- Backgrounds: Use foam, cork bark, or 3D printed panels to create a realistic backdrop.
- Substrate: Choose a safe substrate such as coconut fiber, reptile carpet, or bioactive soil, depending on your lizard’s species.
- Live Plants: Consider non-toxic, reptile-safe plants like pothos, snake plants, or air plants for a natural aesthetic.
Final Touches & Maintenance
- Regularly clean the enclosure and replace substrate as needed.
- Monitor temperature and humidity using digital thermometers and hygrometers.
- Observe your lizard’s behavior to ensure they are comfortable and thriving in their new habitat.
By following these steps, you can create a unique, functional, and beautiful enclosure that keeps your lizard happy and healthy. Have any DIY tips or want to share your custom terrarium? Drop a comment below!


